By Caleb Morgan
Updated November 2026
A kegerator built into a bar gives you cold draft beer on tap without a freestanding appliance taking up floor space. This guide walks you through planning the opening, choosing a unit that fits, venting it properly and running the draft lines. The finished setup looks like a factory feature, and it keeps your kegs cold year-round.
Plan the Opening and Measure Twice
Start with the unit, not the cabinet. Most kegerators are built for a specific width, depth and height, and manufacturers publish their exterior dimensions and required clearances. Measure the internal space of your bar, then subtract the unit’s footprint plus the ventilation gap the manufacturer specifies on each side and at the top.
Shopping for one? See our guide: 5 Best Mini Fridge Into Kegerator Conversions for Home Bars (2026).
Plan for the tap tower and collar before you cut anything. The tower usually mounts on the bar top or the front lip, so the faucet handles need enough room to swing and your hand needs room to pull a pint.
Build the Cabinet and Ventilation Path
A built-in kegerator needs airflow. Most units vent heat through the front or top, and if it is boxed in tightly the compressor will overheat and run constantly. Follow the manufacturer’s clearance specs exactly. Common approaches include:
- A louvered or grille front panel that matches the bar face
- A vent channel cut through the back or toe kick, with a fan if the space is tight
- A removable front panel so you can clean the condenser coil
Line the cabinet with materials that tolerate moisture, since condensation and spills are routine around a draft system. Make sure the unit sits level so the door seals properly.
Run the Draft Lines and Set the Tower
- Mount the tap tower on the bar top, through a hole sized to the tower’s base plate.
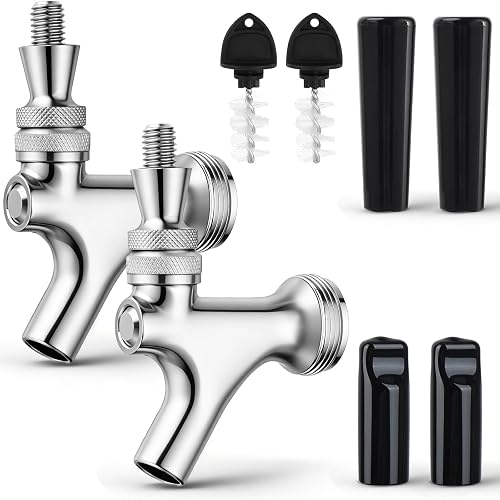
- Connect the shank and faucet to the tower, then tighten the hardware by hand before using a wrench.
- Route the beer line from the keg through the cooling coil or cold-plate section and up to the tower. Keep the run as short and vertical as possible.
- Connect the gas line to a regulator set to the pressure your beer style requires, typically in the low-to-mid single-digit psi range for most ales and lagers. Check your beer’s carbonation chart before dialing it in.
- Pressurize the system and check every fitting with a soapy-water spray. Bubbles mean a leak.
- Let the unit cool for several hours before pouring. Pour the first beers slowly and expect foam until the line is balanced.
Get Balanced Draft Right
Balanced draft means line length and resistance match your gas pressure, so the beer pours without excessive foam. Each brand has its own line-length guidance, and that guidance is a sound starting point. Adjust from there based on how your beer pours. Too much foam usually means pressure is too high or the line is too short. A slow, flat pour usually points to a line that is too long or pressure that is too low.
Know When to Call a Pro
If you need to modify electrical wiring, refrigerant lines or gas fittings beyond basic connections, consult a licensed electrician or appliance technician. Gas work in particular carries real safety risks.
Common Mistakes
- Skipping the manufacturer’s ventilation clearance, which leads to overheating and early failure.
- Setting pressure too high and wasting beer in foam.
- Running the beer line too short for the pressure you are using.
- Failing to leak-test fittings before the first keg goes on.
- Letting the cabinet trap moisture, which can lead to mold and swelling in wood.
For a broader look at converting appliances, see Kegerator Built Into Cabinet: A Step-by-Step Guide for Home Bars and Bars with Kegerator Built In: A Step-by-Step Guide for Home Bars. If you are starting from a secondhand fridge, Converting a Fridge Into a Kegerator: A Step-by-Step Guide for Home Brewers covers the basics.
Recommended Gear
- A tap tower kit for mounting faucets through the bar top, which keeps the build clean and the handles accessible. View on Amazon
- A dual-gauge CO2 regulator, since it lets you monitor both cylinder pressure and the pressure going to the keg. View on Amazon
- Food-grade beer line and a line cleaning kit, so you can keep the system sanitary. View on Amazon
FAQ
How much clearance does a built-in kegerator need?
It depends on the model. Check the manufacturer’s installation manual for side, rear and top clearances, and follow those numbers rather than general guesses.
Can I use a regular fridge instead of a dedicated kegerator unit?
Yes, with a conversion kit and a temperature controller. Make sure the unit can hold a steady cold temperature and has enough internal height for your keg.
Why is my beer pouring all foam?
Usually pressure is too high or the line is too short for your gas setting. Lower the pressure gradually and check line length against your system’s balance guidance.
Conclusion
A kegerator built into your bar takes planning, careful venting and some patience with balancing the draft. Measure the opening, respect the ventilation clearances and leak-test every fitting before the first pour. With those steps done, you will have a tap that looks like it belongs in the bar and pours well for years.
Related reading
Ready to choose one?
About Caleb Morgan
Caleb Morgan is part of our editorial team and reviews and edits our home brewing guides, checking product details against manufacturer specifications and owner feedback.